Simple Calculator :
To make a simple calculator first make a basic app(Don't know? Follow this).
Android consists of Xml(for layout) and Java(for code) files. We need to set up both as per our application requirements.
We will use OnClickListener to get button clicks and perform tasks. We need to implement the class View.OnClickListener within our MainActivity class, then import unimplemented methods.
**We implement this class as to avoid setting up individual OnClickListener for each button we use.
Now the onClick() method is used to get button view which can be used to get button id that we will declare in layout(xml) file.
Follow these steps to set up files :
1) We need to first create a layout of the calculator.
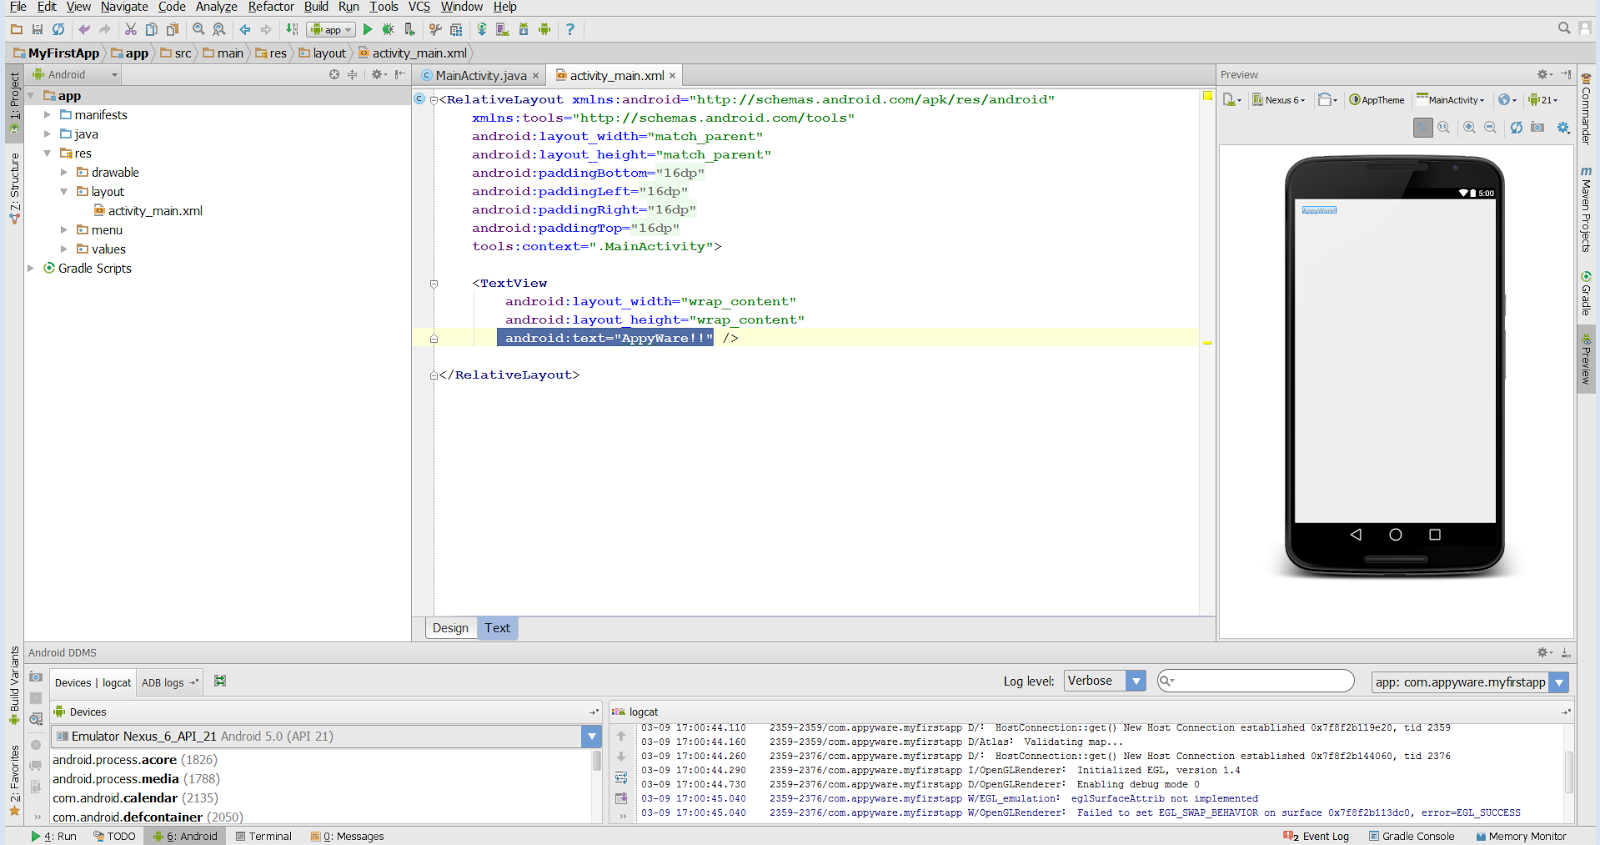
Paste this code into you activity_main.xml :
Paste this code into you MainActivity.java :
2) Save and Run the application.
Complete Source Code : Simple Calculator
For any doubts you can comment below, i'll respond ASAP.
To make a simple calculator first make a basic app(Don't know? Follow this).
Android consists of Xml(for layout) and Java(for code) files. We need to set up both as per our application requirements.
We will use OnClickListener to get button clicks and perform tasks. We need to implement the class View.OnClickListener within our MainActivity class, then import unimplemented methods.
**We implement this class as to avoid setting up individual OnClickListener for each button we use.
Now the onClick() method is used to get button view which can be used to get button id that we will declare in layout(xml) file.
Follow these steps to set up files :
1) We need to first create a layout of the calculator.
Paste this code into you activity_main.xml :
1 2 3 4 5 6 7 8 9 10 11 12 13 14 15 16 17 18 19 20 21 22 23 24 25 26 27 28 29 30 31 32 33 34 35 36 37 38 39 40 41 42 43 44 45 46 47 48 49 50 51 52 53 54 55 56 57 58 59 60 61 62 63 64 65 66 67 68 69 70 71 72 73 | <LinearLayout xmlns:android="http://schemas.android.com/apk/res/android" xmlns:tools="http://schemas.android.com/tools" android:layout_width="match_parent" android:layout_height="match_parent" android:layout_margin="16dp" android:orientation="vertical" tools:context=".MainActivity"> <TextView android:layout_width="wrap_content" android:layout_height="wrap_content" android:layout_gravity="center_horizontal" android:text="Basic Calculator" android:textSize="30dp" /> <EditText android:id="@+id/edittext" android:layout_width="wrap_content" android:ems="10" android:inputType="numberDecimal" android:layout_margin="10dp" android:layout_gravity="center_horizontal" android:layout_height="wrap_content" /> <EditText android:id="@+id/edittext2" android:layout_width="wrap_content" android:ems="10" android:layout_margin="10dp" android:inputType="numberDecimal" android:layout_gravity="center_horizontal" android:layout_height="wrap_content" /> <TextView android:id="@+id/textview" android:layout_width="wrap_content" android:layout_height="wrap_content" android:layout_gravity="center_horizontal" android:text="Result" android:layout_margin="10dp" android:textSize="30dp" /> <Button android:id="@+id/butadd" android:layout_width="wrap_content" android:layout_height="wrap_content" android:text="Add" android:ems="9" android:layout_gravity="center_horizontal" /> <Button android:id="@+id/butsub" android:layout_width="wrap_content" android:layout_height="wrap_content" android:text="Subtract" android:ems="9" android:layout_gravity="center_horizontal" /> <Button android:id="@+id/butmul" android:layout_width="wrap_content" android:layout_height="wrap_content" android:text="Multiply" android:ems="9" android:layout_gravity="center_horizontal" /> <Button android:id="@+id/butdiv" android:layout_width="wrap_content" android:layout_height="wrap_content" android:text="Divide" android:ems="9" android:layout_gravity="center_horizontal" /> </LinearLayout> |
Paste this code into you MainActivity.java :
1 2 3 4 5 6 7 8 9 10 11 12 13 14 15 16 17 18 19 20 21 22 23 24 25 26 27 28 29 30 31 32 33 34 35 36 37 38 39 40 41 42 43 44 45 46 47 48 49 50 51 52 53 54 55 56 57 58 59 60 61 62 63 64 65 66 67 68 69 70 71 72 73 74 75 76 77 78 79 80 81 82 83 84 | package com.appyware.myfirstapp; import android.app.Activity; import android.os.Bundle; import android.text.TextUtils; import android.view.View; import android.widget.Button; import android.widget.EditText; import android.widget.TextView; //implement View.OnClickListener for button clicks public class MainActivity extends Activity implements View.OnClickListener { Button butadd, butsub, butmul, butdiv; EditText editText, editText2; TextView textView; @Override protected void onCreate(Bundle savedInstanceState) { super.onCreate(savedInstanceState); setContentView(R.layout.activity_main); //definition butadd = (Button) findViewById(R.id.butadd); butsub = (Button) findViewById(R.id.butsub); butmul = (Button) findViewById(R.id.butmul); butdiv = (Button) findViewById(R.id.butdiv); editText = (EditText) findViewById(R.id.edittext); editText2 = (EditText) findViewById(R.id.edittext2); textView = (TextView)findViewById(R.id.textview); //setting onClickListener for buttons butadd.setOnClickListener((View.OnClickListener) this); butsub.setOnClickListener(this); butmul.setOnClickListener(this); butdiv.setOnClickListener(this); } @Override public void onClick(View v) { //declare variables float num1 = 0; float num2 = 0; float result = 0; //checking if the input is empty if (TextUtils.isEmpty(editText.getText().toString()) || TextUtils.isEmpty(editText2.getText().toString())) { return; } // reading EditText and storing the value into variables num1 = Float.parseFloat(editText.getText().toString()); num2 = Float.parseFloat(editText2.getText().toString()); // task to perform by buttons when clicked switch (v.getId()) { case R.id.butadd: result = num1 + num2; break; case R.id.butsub: result = num1 - num2; break; case R.id.butmul: result = num1 * num2; break; case R.id.butdiv: if(num2 != 0) result = num1 / num2; break; default: break; } // to display the result textView.setText("Result = " + result); } } |
2) Save and Run the application.
Complete Source Code : Simple Calculator
For any doubts you can comment below, i'll respond ASAP.


.png)
.PNG)
.PNG)
.PNG)
