Implement Navigation View :
To implement navigation view we need to setup few files :
1) drawer_viewer.xml - which will be placed under res >menu. It will contain all the items to be displayed in the drawer. Now we can directly make menu items and add them into drawer we will make.
2) activity_main.xml - which will contain the layout of drawer.
3) main_layout.xml - your main layout(you can add more as per the fragments requirements).
drawer_viewer.xml :
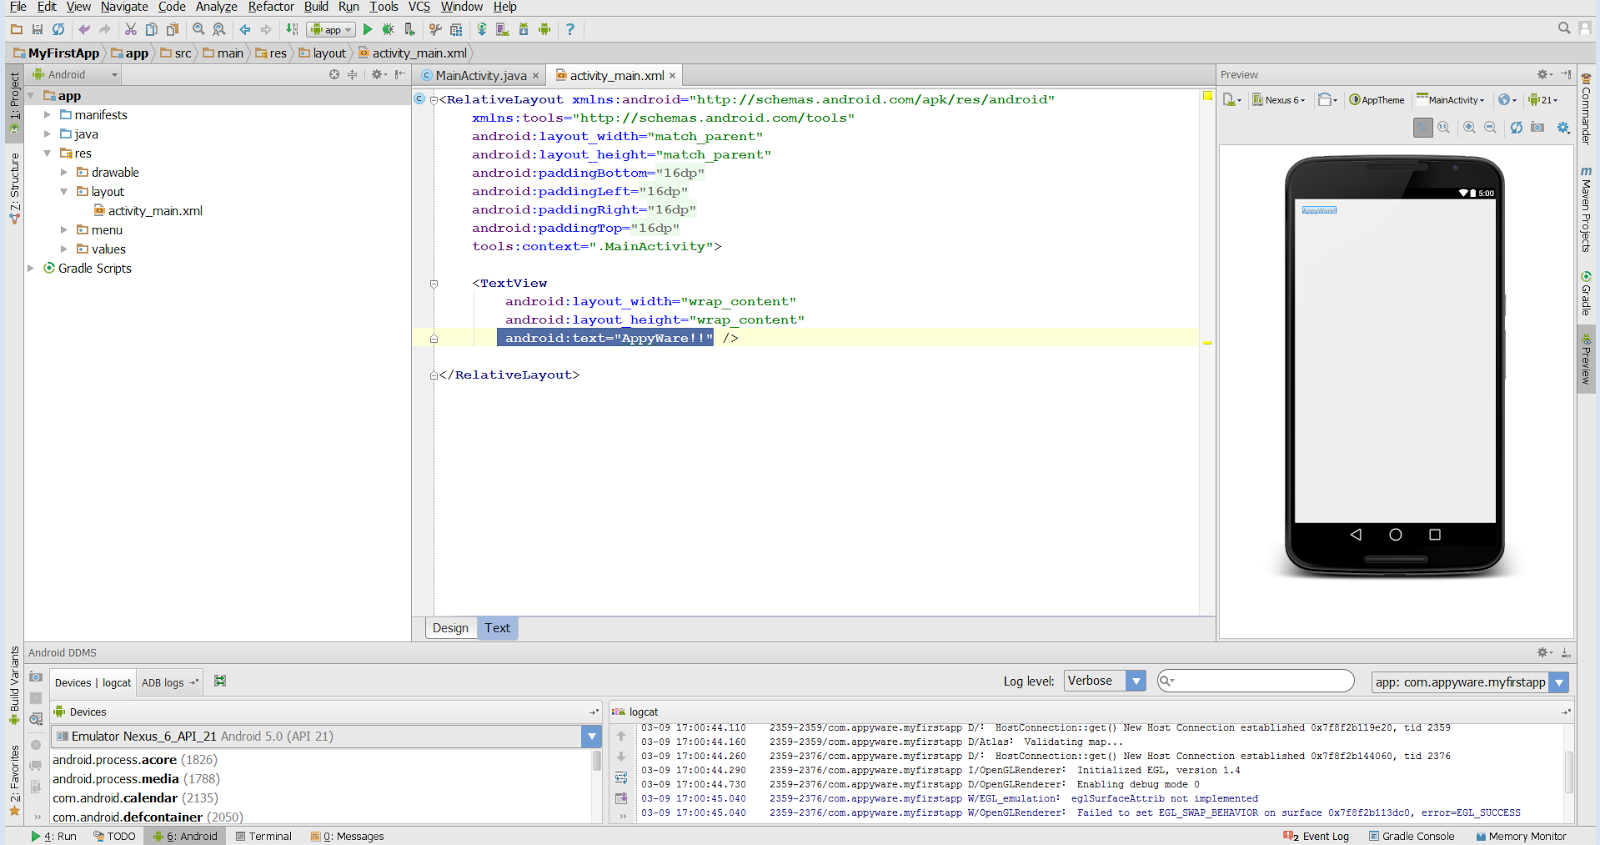
activity_main.xml :
As you can see i have added a headerLayout "nav_header". It is used to display either an image or text above item, maybe you need to create a profile layout and it is very easy to do now.
nav_header.xml :
MainActivity.java :
Screen Shots :


Complete Source Code : NavigationViewDemo
For any doubts you can comment below, i'll respond ASAP.
To implement navigation view we need to setup few files :
1) drawer_viewer.xml - which will be placed under res >menu. It will contain all the items to be displayed in the drawer. Now we can directly make menu items and add them into drawer we will make.
2) activity_main.xml - which will contain the layout of drawer.
3) main_layout.xml - your main layout(you can add more as per the fragments requirements).
drawer_viewer.xml :
1 2 3 4 5 6 7 8 9 10 11 12 13 14 15 16 17 18 19 20 21 22 23 24 25 26 27 28 29 30 31 32 33 34 | <?xml version="1.0" encoding="utf-8"?> <menu xmlns:android="http://schemas.android.com/apk/res/android"> <group android:checkableBehavior="single"> <item android:id="@+id/nav_home" android:icon="@drawable/ic_dashboard" android:title="@string/home" /> <item android:id="@+id/nav_category1" android:icon="@drawable/ic_event" android:title="@string/category1" /> <item android:id="@+id/nav_category2" android:icon="@drawable/ic_forum" android:title="@string/category2" /> </group> <item android:title="@string/subItems"> <menu> <item android:icon="@android:drawable/radiobutton_off_background" android:title="@string/Subitem" /> <item android:icon="@android:drawable/radiobutton_off_background" android:title="@string/Subitem" /> <item android:icon="@android:drawable/radiobutton_off_background" android:title="@string/Subitem" /> </menu> </item> </menu> |
activity_main.xml :
1 2 3 4 5 6 7 8 9 10 11 12 13 14 15 16 17 18 19 20 | <?xml version="1.0" encoding="utf-8"?> <android.support.v4.widget.DrawerLayout xmlns:android="http://schemas.android.com/apk/res/android" xmlns:app="http://schemas.android.com/apk/res-auto" android:id="@+id/drawer_layout" android:layout_width="match_parent" android:layout_height="match_parent" android:fitsSystemWindows="true"> <include layout="@layout/main_layout"/> <android.support.design.widget.NavigationView android:id="@+id/nav_view" android:layout_width="wrap_content" android:layout_height="match_parent" android:layout_gravity="start" app:headerLayout="@layout/nav_header" android:fitsSystemWindows="true" app:menu="@menu/drawer_view" /> </android.support.v4.widget.DrawerLayout> |
As you can see i have added a headerLayout "nav_header". It is used to display either an image or text above item, maybe you need to create a profile layout and it is very easy to do now.
nav_header.xml :
1 2 3 4 5 6 7 8 9 10 11 12 13 14 15 16 17 | <?xml version="1.0" encoding="utf-8"?> <LinearLayout xmlns:android="http://schemas.android.com/apk/res/android" android:layout_width="match_parent" android:layout_height="192dp" android:background="?attr/colorPrimaryDark" android:padding="16dp" android:theme="@style/ThemeOverlay.AppCompat.Dark" android:orientation="vertical" android:gravity="bottom"> <TextView android:layout_width="match_parent" android:layout_height="wrap_content" android:text="AppyWare" android:textAppearance="@style/TextAppearance.AppCompat.Body1"/> </LinearLayout> |
MainActivity.java :
1 2 3 4 5 6 7 8 9 10 11 12 13 14 15 16 17 18 19 20 21 22 23 24 25 26 27 28 29 30 31 32 33 34 35 36 37 38 39 40 41 42 43 44 45 46 47 48 49 | public class MainActivity extends AppCompatActivity { private DrawerLayout mDrawerLayout; @Override protected void onCreate(Bundle savedInstanceState) { super.onCreate(savedInstanceState); setContentView(R.layout.activity_main); Toolbar toolbar = (Toolbar) findViewById(R.id.toolbar); setSupportActionBar(toolbar); final ActionBar ab = getSupportActionBar(); ab.setHomeAsUpIndicator(R.drawable.ic_menu); ab.setDisplayHomeAsUpEnabled(true); mDrawerLayout = (DrawerLayout) findViewById(R.id.drawer_layout); NavigationView navigationView = (NavigationView) findViewById(R.id.nav_view); if (navigationView != null) { setupDrawerContent(navigationView); } } //to get selected menuitem private void setupDrawerContent(NavigationView navigationView) { navigationView.setNavigationItemSelectedListener( new NavigationView.OnNavigationItemSelectedListener() { @Override public boolean onNavigationItemSelected(MenuItem menuItem) { menuItem.setChecked(true); Toast.makeText(getApplicationContext(), "Current selection : " + menuItem.getTitle(), Toast.LENGTH_SHORT).show(); mDrawerLayout.closeDrawers(); return true; } }); } @Override public boolean onOptionsItemSelected(MenuItem item) { switch (item.getItemId()) { case android.R.id.home: mDrawerLayout.openDrawer(GravityCompat.START); return true; } return super.onOptionsItemSelected(item); } } |
Screen Shots :


Complete Source Code : NavigationViewDemo
For any doubts you can comment below, i'll respond ASAP.


.png)
.PNG)
.PNG)
.PNG)
