Home

Monday, 18 May 2015

Creating Advance Custom Button

Creating Advance Custom Button :

For a better User Experience we need to show button responsive, for that we will change the button when the user presses it. To do that we need to create:

• button_bg_normal.xml  - For normal button.
• button_bg_pressed.xml - When the button is pressed.
• button_selector.xml - To switch between the backgrounds.


button_bg_normal.xml :

1
2
3
4
5
6
7
8
<shape xmlns:android="http://schemas.android.com/apk/res/android"
    android:shape="rectangle">
    <solid android:color="@android:color/holo_blue_dark" />
    <corners android:radius="25dp" />
    <stroke
        android:color="@android:color/holo_blue_bright"
        android:width="2dp" />
</shape>


button_bg_pressed.xml :

1
2
3
4
5
6
7
8
<shape xmlns:android="http://schemas.android.com/apk/res/android"
    android:shape="rectangle">
    <solid android:color="@android:color/holo_red_dark" />
    <corners android:radius="25dp" />
    <stroke
        android:color="@android:color/holo_red_light"
        android:width="2dp" />
</shape>


button_selector.xml :

1
2
3
4
<selector xmlns:android="http://schemas.android.com/apk/res/android">
    <item android:drawable="@drawable/button_bg_pressed" android:state_pressed="true" />
    <item android:drawable="@drawable/button_bg_normal" />
</selector>
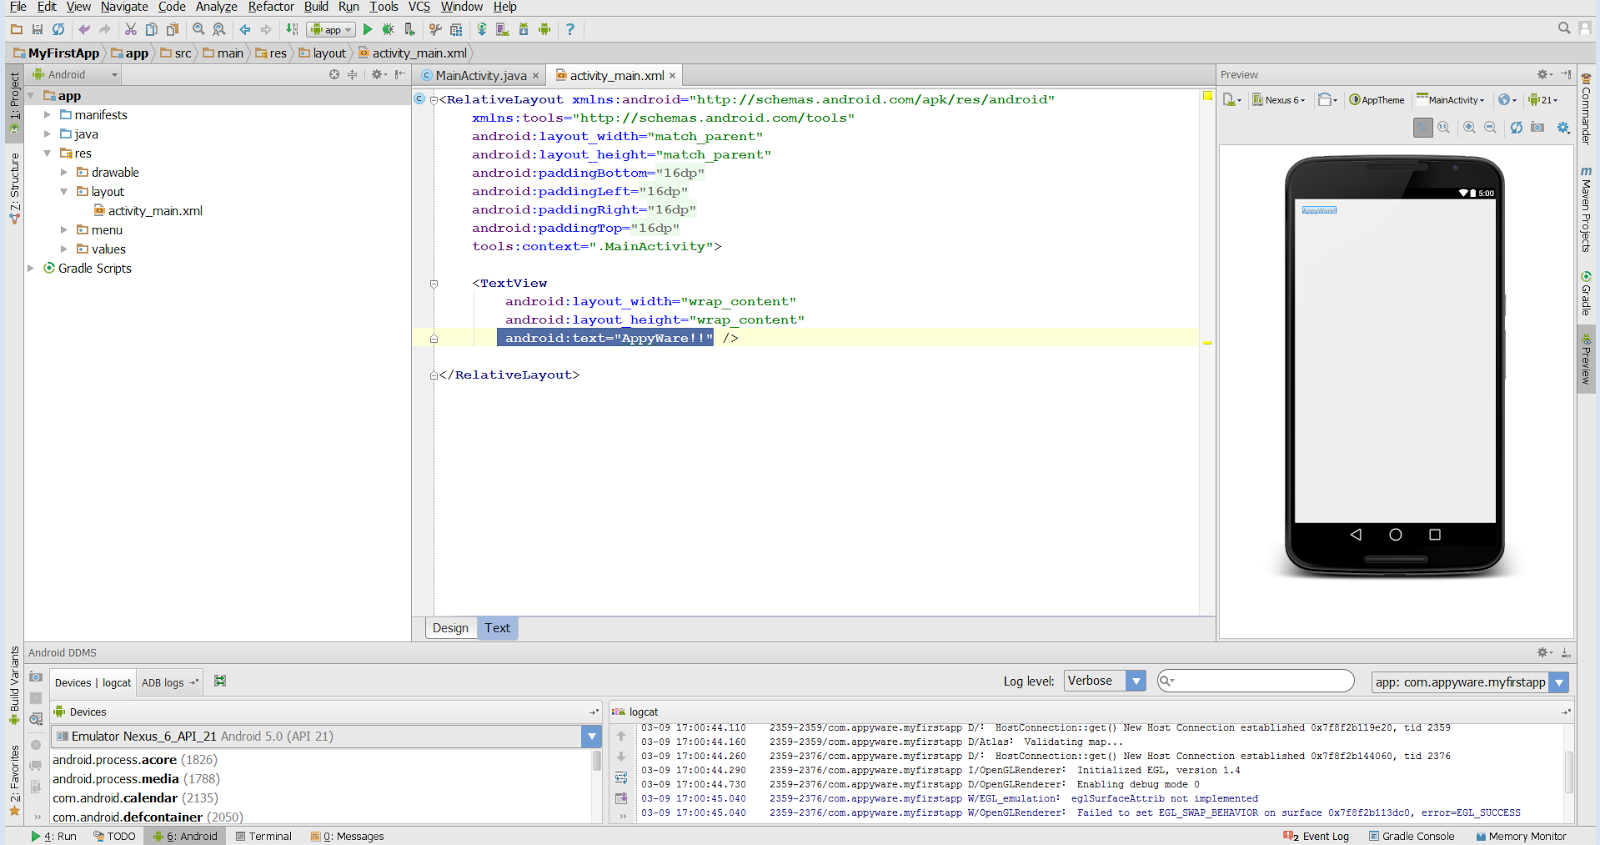

activity_main.xml : 


 1
 2
 3
 4
 5
 6
 7
 8
 9
10
11
12
13
14
15
16
17
18
<RelativeLayout xmlns:android="http://schemas.android.com/apk/res/android"
    xmlns:tools="http://schemas.android.com/tools"
    android:layout_width="match_parent"
    android:layout_height="match_parent"
    android:padding="16dp"
    tools:context=".MainActivity">

    <Button
        android:gravity="center"
        android:layout_width="wrap_content"
        android:layout_height="wrap_content"
        android:text="This is a Custom Button"
        android:padding="10dp"
        android:textColor="@android:color/white"
        android:background="@drawable/button_selector"
        android:layout_centerInParent="true"/>

</RelativeLayout>

ScreenShots : 


Creating Basic Custom Button

Creating Basic Custom Button: 

To make a custom Button, we will create a new XML file "button_bg" in our drawable folder. This file will act as background source of our button. Let's get started :


button_bg.xml :

1
2
3
4
5
6
7
8
<shape xmlns:android="http://schemas.android.com/apk/res/android"
    android:shape="rectangle">
    <solid android:color="@android:color/holo_blue_dark" />
    <corners android:radius="25dp" />
    <stroke
        android:color="@android:color/holo_blue_bright"
        android:width="2dp" />
</shape>

Now in your activity_main.xml use this as background :


 1
 2
 3
 4
 5
 6
 7
 8
 9
10
11
12
13
14
15
16
17
18
<RelativeLayout xmlns:android="http://schemas.android.com/apk/res/android"
    xmlns:tools="http://schemas.android.com/tools"
    android:layout_width="match_parent"
    android:layout_height="match_parent"
    android:padding="16dp"
    tools:context=".MainActivity">

    <Button
        android:gravity="center"
        android:layout_width="wrap_content"
        android:layout_height="wrap_content"
        android:text="This is a Custom Button"
        android:padding="10dp"
        android:textColor="@android:color/white"
        android:background="@drawable/button_bg"
        android:layout_centerInParent="true"/>

</RelativeLayout>

ScreenShot :


Friday, 24 April 2015

Saving Data using Shared Preference

Shared Preference : 

Shared preference is used to save and retrieve the data within the app.
Note : Once the application is uninstalled the saved data gets erased.
There 2 process one to save and another to retrieve. The following code depicts :

MainActvity.java  :


 1
 2
 3
 4
 5
 6
 7
 8
 9
10
11
12
13
14
15
16
17
18
19
20
21
22
23
24
25
26
27
28
29
30
31
32
33
34
35
36
37
38
39
40
41
42
43
44
45
46
47
package com.appyware.sharedpreference_demo;

import android.content.Context;
import android.content.SharedPreferences;
import android.os.Bundle;
import android.support.v7.app.ActionBarActivity;
import android.view.View;
import android.widget.EditText;
import android.widget.TextView;


public class MainActivity extends ActionBarActivity {

    EditText editText;
    TextView textView;
    SharedPreferences sharedPreferences;

    @Override
    protected void onCreate(Bundle savedInstanceState) {
        super.onCreate(savedInstanceState);
        setContentView(R.layout.activity_main);

        editText = (EditText) findViewById(R.id.edittext);
        textView = (TextView) findViewById(R.id.textview);

        // Retrieve and hold contents
        sharedPreferences = getSharedPreferences("sharedPreferences", Context.MODE_PRIVATE);

        // Get the string value and set text
        textView.setText(sharedPreferences.getString("key", null));

    }

    /* to save data using shared preference */
    public void save(View v) {
        if (editText.getText().toString().trim().length() > 0) {

            String text = editText.getText().toString();
            SharedPreferences.Editor editor = sharedPreferences.edit();
            editor.putString("key", text);
            editor.commit();
            textView.setText(sharedPreferences.getString("key", null));
        }

    }

}

Activity_main.xml :


 1
 2
 3
 4
 5
 6
 7
 8
 9
10
11
12
13
14
15
16
17
18
19
20
21
22
23
24
25
26
27
<LinearLayout xmlns:android="http://schemas.android.com/apk/res/android"
    android:layout_width="match_parent"
    android:layout_height="match_parent"
    android:orientation="vertical">

    <EditText
        android:id="@+id/edittext"
        android:layout_width="match_parent"
        android:layout_height="wrap_content"
        android:layout_margin="20dp"
        android:hint="Enter the text" />

    <Button
        android:layout_width="wrap_content"
        android:layout_height="wrap_content"
        android:layout_gravity="center_horizontal"
        android:onClick="save"
        android:text="Save" />

    <TextView
        android:id="@+id/textview"
        android:layout_width="wrap_content"
        android:layout_height="wrap_content"
        android:layout_gravity="center_horizontal"
        android:layout_margin="20dp"
        android:textSize="30sp" />
</LinearLayout>


Complete Source Code : SharedPreference-Demo

For any doubts you can comment below, i'll respond ASAP.

Monday, 20 April 2015

Starting new Activity(Intents)

Starting new Activity :

Intents are used to transfer the flow of control from current activity to another. They used as messages which are passed and can also be used to pass data.

To create an Intent :

1
2
Intent intent = new Intent(CurrentActivity.this, NewActivity.class);
startActivity(intent);

To pass data :

We will pass a string "Extra_Data" :


1
2
3
Intent intent = new Intent(CurrentActivity.this, NewActivity.class);
intent.putExtra("Extra_DataId", "Extra_Data");
startActivity(intent);

To receive data in another activity : 

1
String data= getIntent().getStringExtra("Extra_DataId");

Saturday, 14 March 2015

Simple Calculator Application

Simple Calculator : 

To make a simple calculator first make a basic app(Don't know? Follow this).

Android consists of Xml(for layout) and Java(for code) files. We need to set up both as per our application requirements.

We will use OnClickListener to get button clicks and perform tasks. We need to implement the class View.OnClickListener within our MainActivity class, then import unimplemented methods.

**We implement this class as to avoid setting up individual OnClickListener for each button we use.

Now the onClick() method is used to get button view which can be used to get button id that we will declare in layout(xml) file.

Follow these steps to set up files :

1) We need to first create a layout of the calculator.

Paste this code into you activity_main.xml :

 1
 2
 3
 4
 5
 6
 7
 8
 9
10
11
12
13
14
15
16
17
18
19
20
21
22
23
24
25
26
27
28
29
30
31
32
33
34
35
36
37
38
39
40
41
42
43
44
45
46
47
48
49
50
51
52
53
54
55
56
57
58
59
60
61
62
63
64
65
66
67
68
69
70
71
72
73
<LinearLayout xmlns:android="http://schemas.android.com/apk/res/android"
    xmlns:tools="http://schemas.android.com/tools"
    android:layout_width="match_parent"
    android:layout_height="match_parent"
    android:layout_margin="16dp"
    android:orientation="vertical"
    tools:context=".MainActivity">

    <TextView
        android:layout_width="wrap_content"
        android:layout_height="wrap_content"
        android:layout_gravity="center_horizontal"
        android:text="Basic Calculator"
        android:textSize="30dp" />

    <EditText
        android:id="@+id/edittext"
        android:layout_width="wrap_content"
        android:ems="10"
        android:inputType="numberDecimal"
        android:layout_margin="10dp"
        android:layout_gravity="center_horizontal"
        android:layout_height="wrap_content" />

    <EditText
        android:id="@+id/edittext2"
        android:layout_width="wrap_content"
        android:ems="10"
        android:layout_margin="10dp"
        android:inputType="numberDecimal"
        android:layout_gravity="center_horizontal"
        android:layout_height="wrap_content" />
    <TextView
        android:id="@+id/textview"
        android:layout_width="wrap_content"
        android:layout_height="wrap_content"
        android:layout_gravity="center_horizontal"
        android:text="Result"
        android:layout_margin="10dp"
        android:textSize="30dp" />
    <Button
        android:id="@+id/butadd"
        android:layout_width="wrap_content"
        android:layout_height="wrap_content"
        android:text="Add"
        android:ems="9"
        android:layout_gravity="center_horizontal"
        />
    <Button
        android:id="@+id/butsub"
        android:layout_width="wrap_content"
        android:layout_height="wrap_content"
        android:text="Subtract"
        android:ems="9"
        android:layout_gravity="center_horizontal"
        />
    <Button
        android:id="@+id/butmul"
        android:layout_width="wrap_content"
        android:layout_height="wrap_content"
        android:text="Multiply"
        android:ems="9"
        android:layout_gravity="center_horizontal"
        />
    <Button
        android:id="@+id/butdiv"
        android:layout_width="wrap_content"
        android:layout_height="wrap_content"
        android:text="Divide"
        android:ems="9"
        android:layout_gravity="center_horizontal"
        />
</LinearLayout>


Paste this code into you MainActivity.java :


 1
 2
 3
 4
 5
 6
 7
 8
 9
10
11
12
13
14
15
16
17
18
19
20
21
22
23
24
25
26
27
28
29
30
31
32
33
34
35
36
37
38
39
40
41
42
43
44
45
46
47
48
49
50
51
52
53
54
55
56
57
58
59
60
61
62
63
64
65
66
67
68
69
70
71
72
73
74
75
76
77
78
79
80
81
82
83
84
package com.appyware.myfirstapp;

import android.app.Activity;
import android.os.Bundle;
import android.text.TextUtils;
import android.view.View;
import android.widget.Button;
import android.widget.EditText;
import android.widget.TextView;


//implement View.OnClickListener for button clicks
public class MainActivity extends Activity implements View.OnClickListener {

    Button butadd, butsub, butmul, butdiv;
    EditText editText, editText2;
    TextView textView;

    @Override
    protected void onCreate(Bundle savedInstanceState) {
        super.onCreate(savedInstanceState);
        setContentView(R.layout.activity_main);

        //definition
        butadd = (Button) findViewById(R.id.butadd);
        butsub = (Button) findViewById(R.id.butsub);
        butmul = (Button) findViewById(R.id.butmul);
        butdiv = (Button) findViewById(R.id.butdiv);

        editText = (EditText) findViewById(R.id.edittext);
        editText2 = (EditText) findViewById(R.id.edittext2);

        textView = (TextView)findViewById(R.id.textview);

        //setting onClickListener for buttons
        butadd.setOnClickListener((View.OnClickListener) this);
        butsub.setOnClickListener(this);
        butmul.setOnClickListener(this);
        butdiv.setOnClickListener(this);

    }

    @Override
    public void onClick(View v) {

        //declare variables
        float num1 = 0;
        float num2 = 0;
        float result = 0;

        //checking if the input is empty
        if (TextUtils.isEmpty(editText.getText().toString())
                || TextUtils.isEmpty(editText2.getText().toString())) {
            return;
        }

        // reading EditText and storing the value into variables
        num1 = Float.parseFloat(editText.getText().toString());
        num2 = Float.parseFloat(editText2.getText().toString());

        // task to perform by buttons when clicked
        switch (v.getId()) {
            case R.id.butadd:
                result = num1 + num2;
                break;
            case R.id.butsub:
                result = num1 - num2;
                break;
            case R.id.butmul:
                result = num1 * num2;
                break;
            case R.id.butdiv:
                if(num2 != 0)
                result = num1 / num2;
                break;
            default:
                break;
        }

        // to display the result
        textView.setText("Result = " + result);

    }
}

2) Save and Run the application.

Complete Source Code : Simple Calculator

For any doubts you can comment below, i'll respond ASAP.


Monday, 9 March 2015

Your First Android Application!

Your First Android Application : 

Let's begin by creating a basic Android App with your name on it!

1) Start Android Studio(Don't have? Follow this link).

2) In the main window select Start a new Android Studio project.

3) Type the name of the app you want(I take MyFirstApp).

4) Change your Company Domain(You can't use default to upload apps to playstore).

5) Choose your project location.


6) Select next > next(we won't change platform or min SDK level for now) > next( we will use Blank Activity for now) > Finish.

7) You will see a window like this, don't worry we will learn about everything.


8) Now to Run the app either choose Run 'app' from menu bar or press SHIFT + F10 (Win) and CTRL + R (Mac).

9) You will see this popup either Use a device(Follow this link to learn) or Create AVD(Follow this link to learn). Select the choice and press OK.


10) You have successfully made your app!


To replace your name instead of Hello World! text :

1) In your activity_main.xml and in the text part of the code browse to TextView and android:text="@string/hello_world".

2) Replace this line by android:text="Your name".


3) Now run the app.


Enable USB Debugging

Enable USB Debugging : 

To use a device to run android apps we need to configure your Android Device.

1) Open Settings in your Android Device, and goto About Phone option and tap 7 times on Build Number until you see a message "Now you are a developer", it enables Developer Options in settings.

2) Open Developer Options in Settings and Check USB Debugging option, click OK in the popup.

3) Now connect your device to your system via USB cable and run the app, it will show
your device in the available devices.